The Big Pot
- Madeline Wynne
- Jul 14, 2021
- 5 min read
Updated: Sep 16, 2021
Planning and making a template
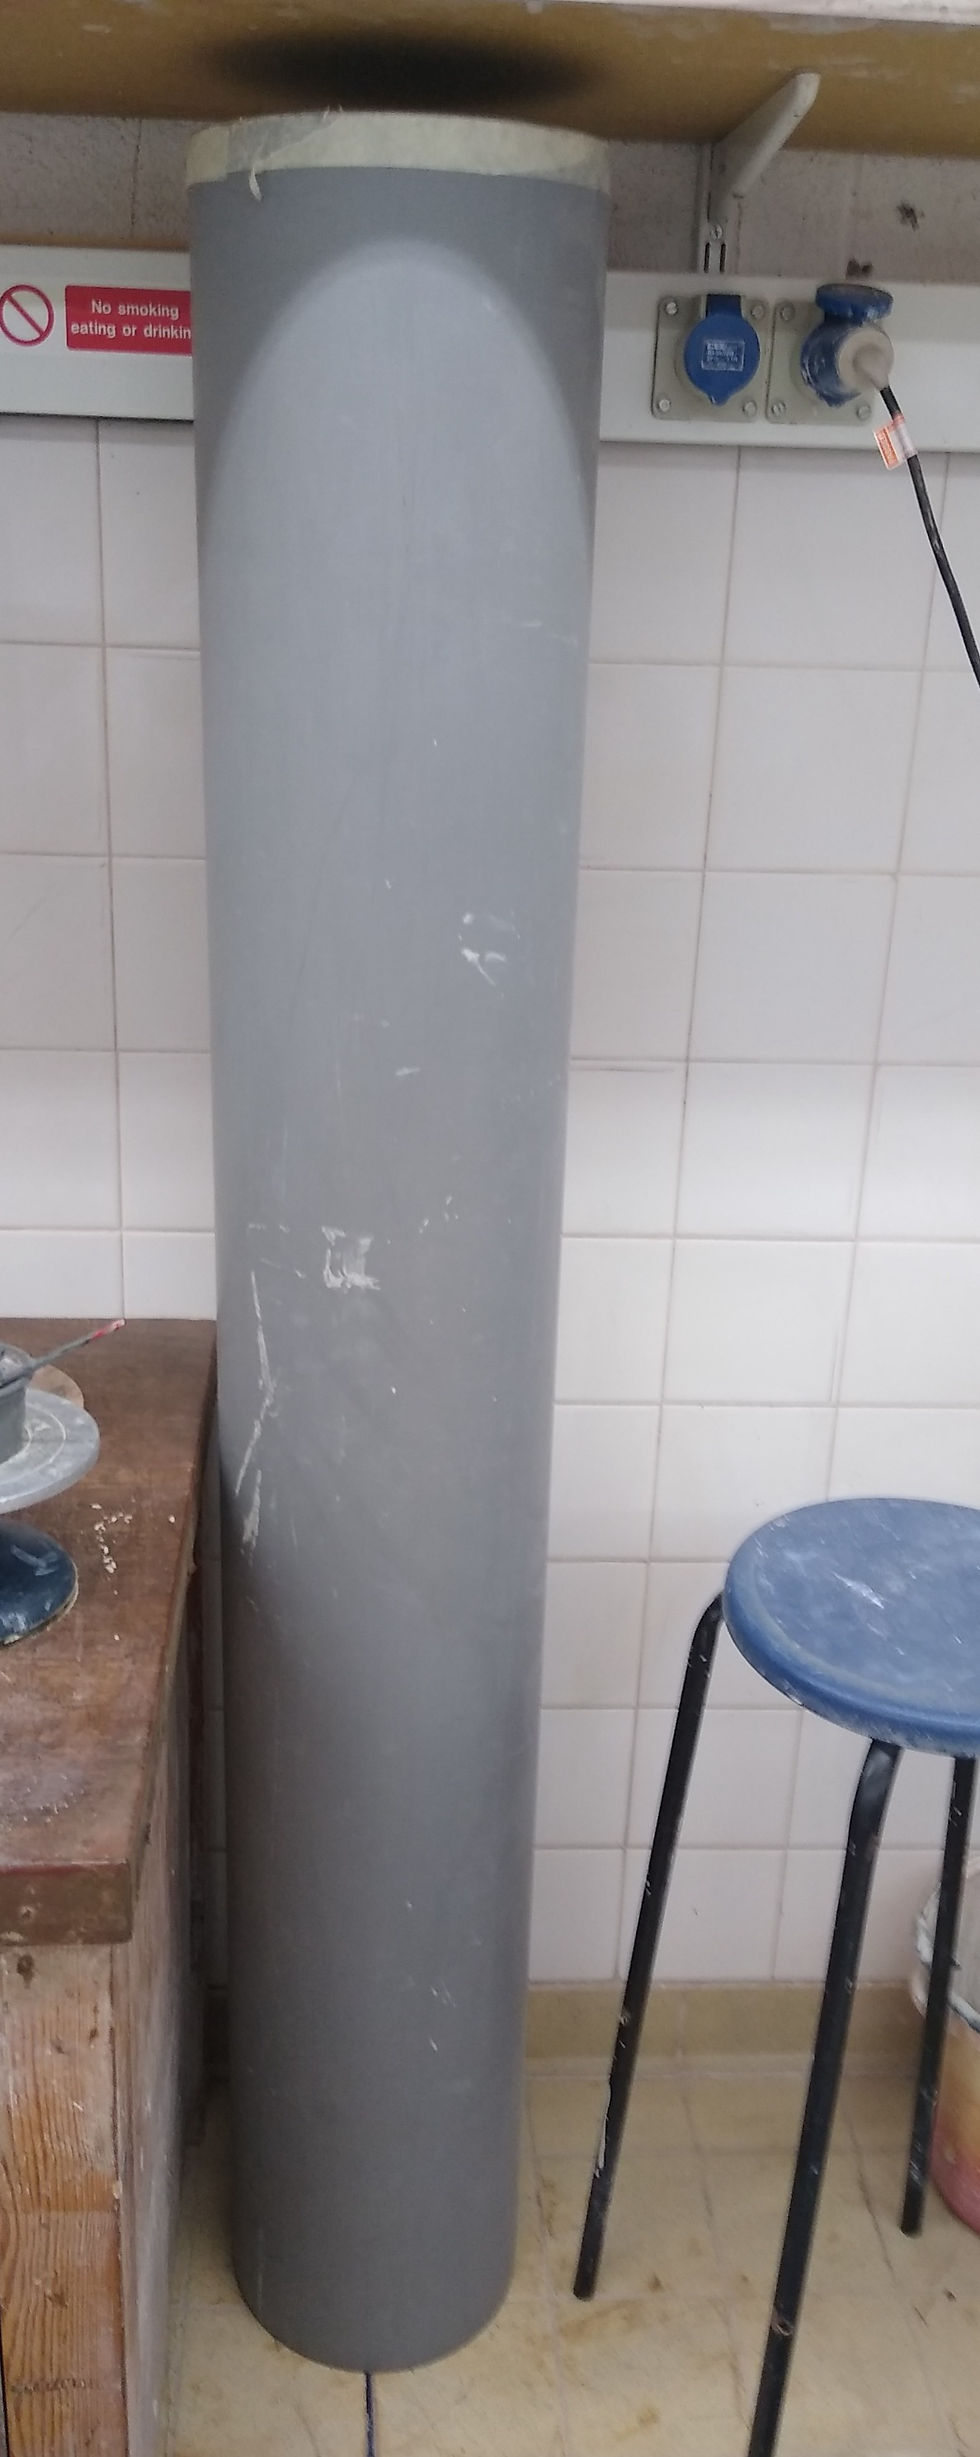
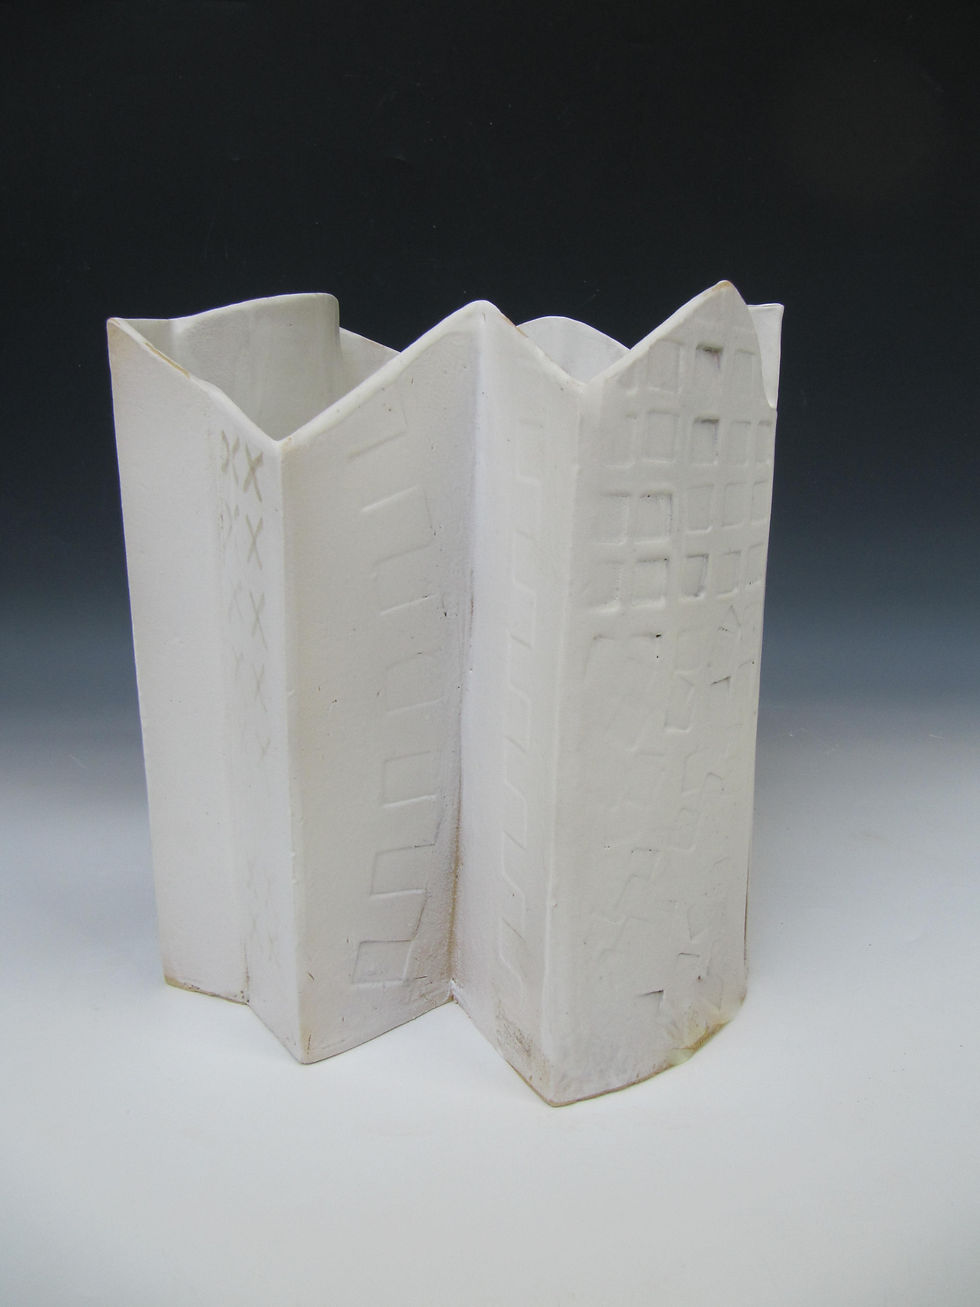
I was challenged, by Rob, to make a bigger slab-pot. So I have designed a complex pot, with just the right footprint that I want to make. I planned the size and shape with a large piece of pipe to hand, so that I could work out the ratio of the height to the base, and also to use later for forming the curved pieces. I have found it easier to design from the base, and then measure the width of the side strips from this. I drew these pieces out on thick paper to the required height, numbering each paper piece on both the base and the card. I then marked the template to indicate which pieces were curved, as I needed to form the curved pieces on the large plastic pipe. Making the template took all afternoon, so seemed quite a long time, although it was later to prove a good investment.

Lessons learnt - designing the base first is a good idea, as is identifying which slabs need to be curved.
Cutting and forming the pieces
Cutting the pieces was fairly straightforward the next day, I wanted the slabs to be a minimum of 27cm in height. Most were taller, between 30cm and 35cm. I cut the bases of each template, but left the tops to form a sort of skyline that I could adjust once in situ. I made a spare slab to ensure that I could cut a replacement piece if need be, that would be the exact thickness and dryness as the other pieces. ( I'm not going to make that mistake again). I used Rob's cutting technique on the edge of a board with a square metal scraper for the flat slabs, and mitred the four pieces meeting at 90 degrees. This worked well on the wider slabs and produced very clean cuts, it was less successful on the narrower slabs, the cutting action made the slabs move. Perhaps this was because the slabs were much thinner for this pot and therefore much lighter. I then made a mistake, and did not initially number the clay pieces after cutting, just keeping them with their template.

I arranged the curved pieces on the big pipe and left them to dry. The pieces took ages to get ready, the flat pieces on boards were ready first so I had to wrap them up. The curved pieces took much longer on newspaper over the plastic pipe, they were not ready until half an hour before my lift home. Whilst waiting I put two right angled sections together and then sprayed and wrapped everything up for the following week
Lessons learnt - always cut the bases, but maybe not the tops, make a spare slab, pieces on plastic pipes dry much more slowly than pieces on boards so build this into plan, thin slabs do not lie flat for cutting on the edge of boards.
Texturing using plaster and impressing. One final thing happened, I realised that I needed to hand-make the part that I had hoped would come from the extruder, as the die had broken, but no problem as I had a spare slab.
I had collected various wooden offcuts and used these to texture some of the pieces. I did this after cutting because I didn't want to create lots of offcuts that would be 'wasted'. This was ok, with very little distortion of the edges, I trimmed one or two edges back into shape from the templates. The plaster was more of an issue as I had to roll the clay onto the plaster slab. I should have rolled the whole clay slab onto the plaster and then used the template to cut the pieces. This would have been difficult in some ways, as there are three textures on the original and new plaster slab. The new slab was also less than 27cm, so I had to place the clay twice to get the desired height. I really like the plaster for creating a texture, so I need to do this more effectively going forward, especially if I make another big pot.
Lessons learnt - texture before cutting where possible, it is better to have three small plaster slabs than one big one for this type of pot. This would not necessarily be true if there was only one pattern in use. Pattern match top and bottom of plaster
Building the pot
I cut the pieces to replace the 'extruded element and set them aside to dry a bit more. I then realised that there was another problem, my design included a smaller curved piece from another pipe, but I had dried this piece on the large pipe. I got some wet paper towels and wrapped the piece up. I put it over the smaller pipe and kept spraying it until it started to take shape. At this point I now had two 'missing' pieces, I hadn't even started, but had to make a pot with two gaps. I started from a large piece that I had put together the previous week, and tried to join it to the base. Rob meanwhile was on the table behind me making a square plinth and helping by giving me advice on smoothing corners, whilst pointing out flaws with the piece I had already made. The next piece had a join greater than 90 degrees, so was tricky, it also seemed shorter than it should be, I couldn't really understand why. I was a bit stuck with cutting the angle but also the shorter piece, Rob advised me to adjust the design as you go, and left the room. I decided to match the clay pieces to the original templates to see where I had gone wrong. I laid out all the templates, and then realised that I had picked up the wrong curved piece. I put numbers on each clay piece and started again. The fourteen pieces slotted together relatively easily, including the curved piece from the smaller pipe, that by now was sufficiently dry. There was one remaining gap where the extruded piece should have gone, I tried the new hand-made piece in the gap, it was half a centimetre too narrow, so I rolled two very thin slabs and added them to the inside joints. The piece fitted perfectly now, and I had a complete pot.

Lessons learnt - if two pipes are used mark it CLEARLY on the template, especially if you are not making the pot on the same day! Put numbers on the top of the cut clay pieces, where they can be removed later.
The pot is one of the larger pieces I have made, and has been quite a challenge.


Comments