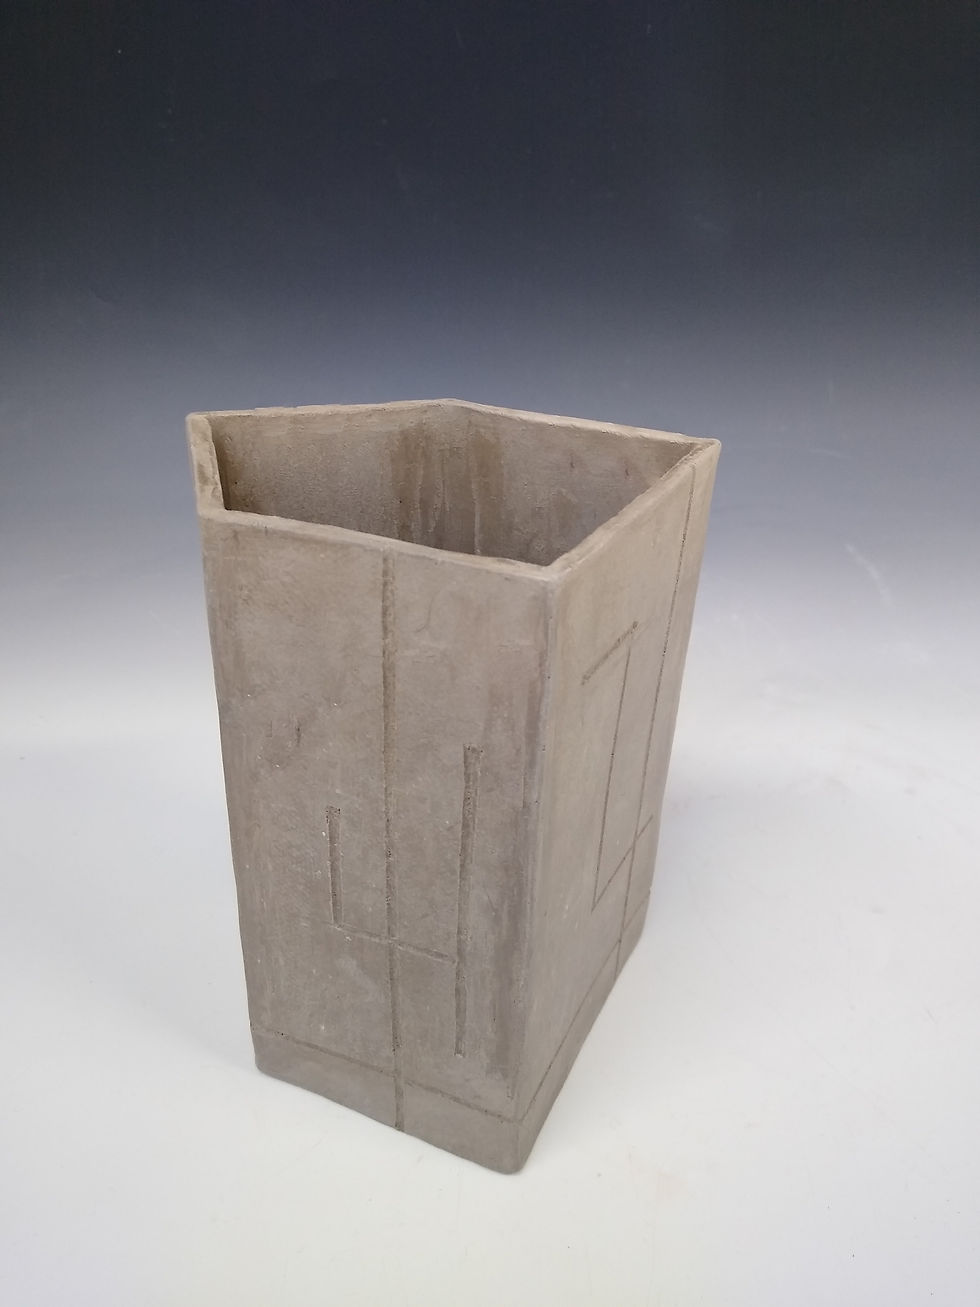
Lines and new clay bodies
- Madeline Wynne
- Mar 19, 2022
- 3 min read
This week has been all about clay bodies and adding coloured lines.
I have made a vessel with St Patricks white, this was quick and easy, I like the clay a lot for slab-building, it has more firmness on the joins when wet, and less clay is displaced whilst joining the sides. Micaela let me have some PF700G that she had reclaimed. It was very wet, I sat it on a plaster slab until lunchtime, then rolled it, and left it to dry on a board. It did not dry, on Friday I uncovered it all day, it did not dry. I am hoping to be able to use it on Monday. I'm not sure whether this is because it was very wet to start with. I will wait to see how it goes next week.

I have tested slip inlays, underglazes and oxides.I used slip inlays in my first year at Uclan.
Slip lines
The lines were easy to carve and fill, however the difficulty arose when clearing the excess slip with a rib. As the clay is grogged, the grog scratched across the slip lines and transferred colour to areas that were supposed to be left clean. I have bisque fired the samples and will wait to see how they look under glaze.
Underglaze lines
These were again easy to apply, I tried them with and without a separate bisque firing. In both cases the lines were clear. Previously the white underglaze had reacted with an earthenware glaze, but there was no evidence of this with stoneware. The only issue with this was glaze without the tin to see what happens that my stoneware glaze is not truly transparent, it contains tin. This meant that there was a milky effect over the underglazes, particularly the black. I think I will try the glaze without the tin to see what happens.
Oxides
The oxide lines were not as precise as the other methods, as would be expected. I liked this effect, the manganese, red iron oxide and cobalt worked well. The copper carbonate and copper oxide were not so good. I think that I probably added too much copper in both cases, but as this is the main colourant in my glaze, this may have also had an effect. I think I will try to add in increments, to find an optimum colour. Whilst I think I prefer a precise line at the moment, I will shortly be incorporating more complex aspects of my research and an oxide may be more appropriate. I used both manganese and red iron oxide to 'weather' my surfaces during Practice 2 module, but the content of oxides was a little too weak there, so testing this now would be worthwhile.
Decals - underglaze
Bodil Manz uses underglaze transfers to add blocks of colour to her porcelain work, she then adds a transparent glaze. However, as noted above, I have used an opacifier, so cannot use these here, unless I have success with the PF700G porcelain white stoneware, or the Porcelain Grogged clay. I will bear this method in mind as tests progress.
Decals - Onglazes
I can get a nice clean line with an onglaze, regardless of whether the base glaze is transparent or opaque. Rob has suggested these to get the crispness I need, but also to incorporate some of my research finding. I would buy a full sheet of decals, some would be lines, but others could be images or records from the archives. I will collect some item together that could be used in this way.
Carved lines
I have used carved lines on one pot to test the effect. This might look good with celadon glazes. I also have 3 carved pots in bisque firing that have carving on them. If the tests come out of reduction successfully next week, I can try the first set. The vessel I made this week was made from St Patricks white stoneware clay, so I am looking forward to seeing how this fires.


Comments